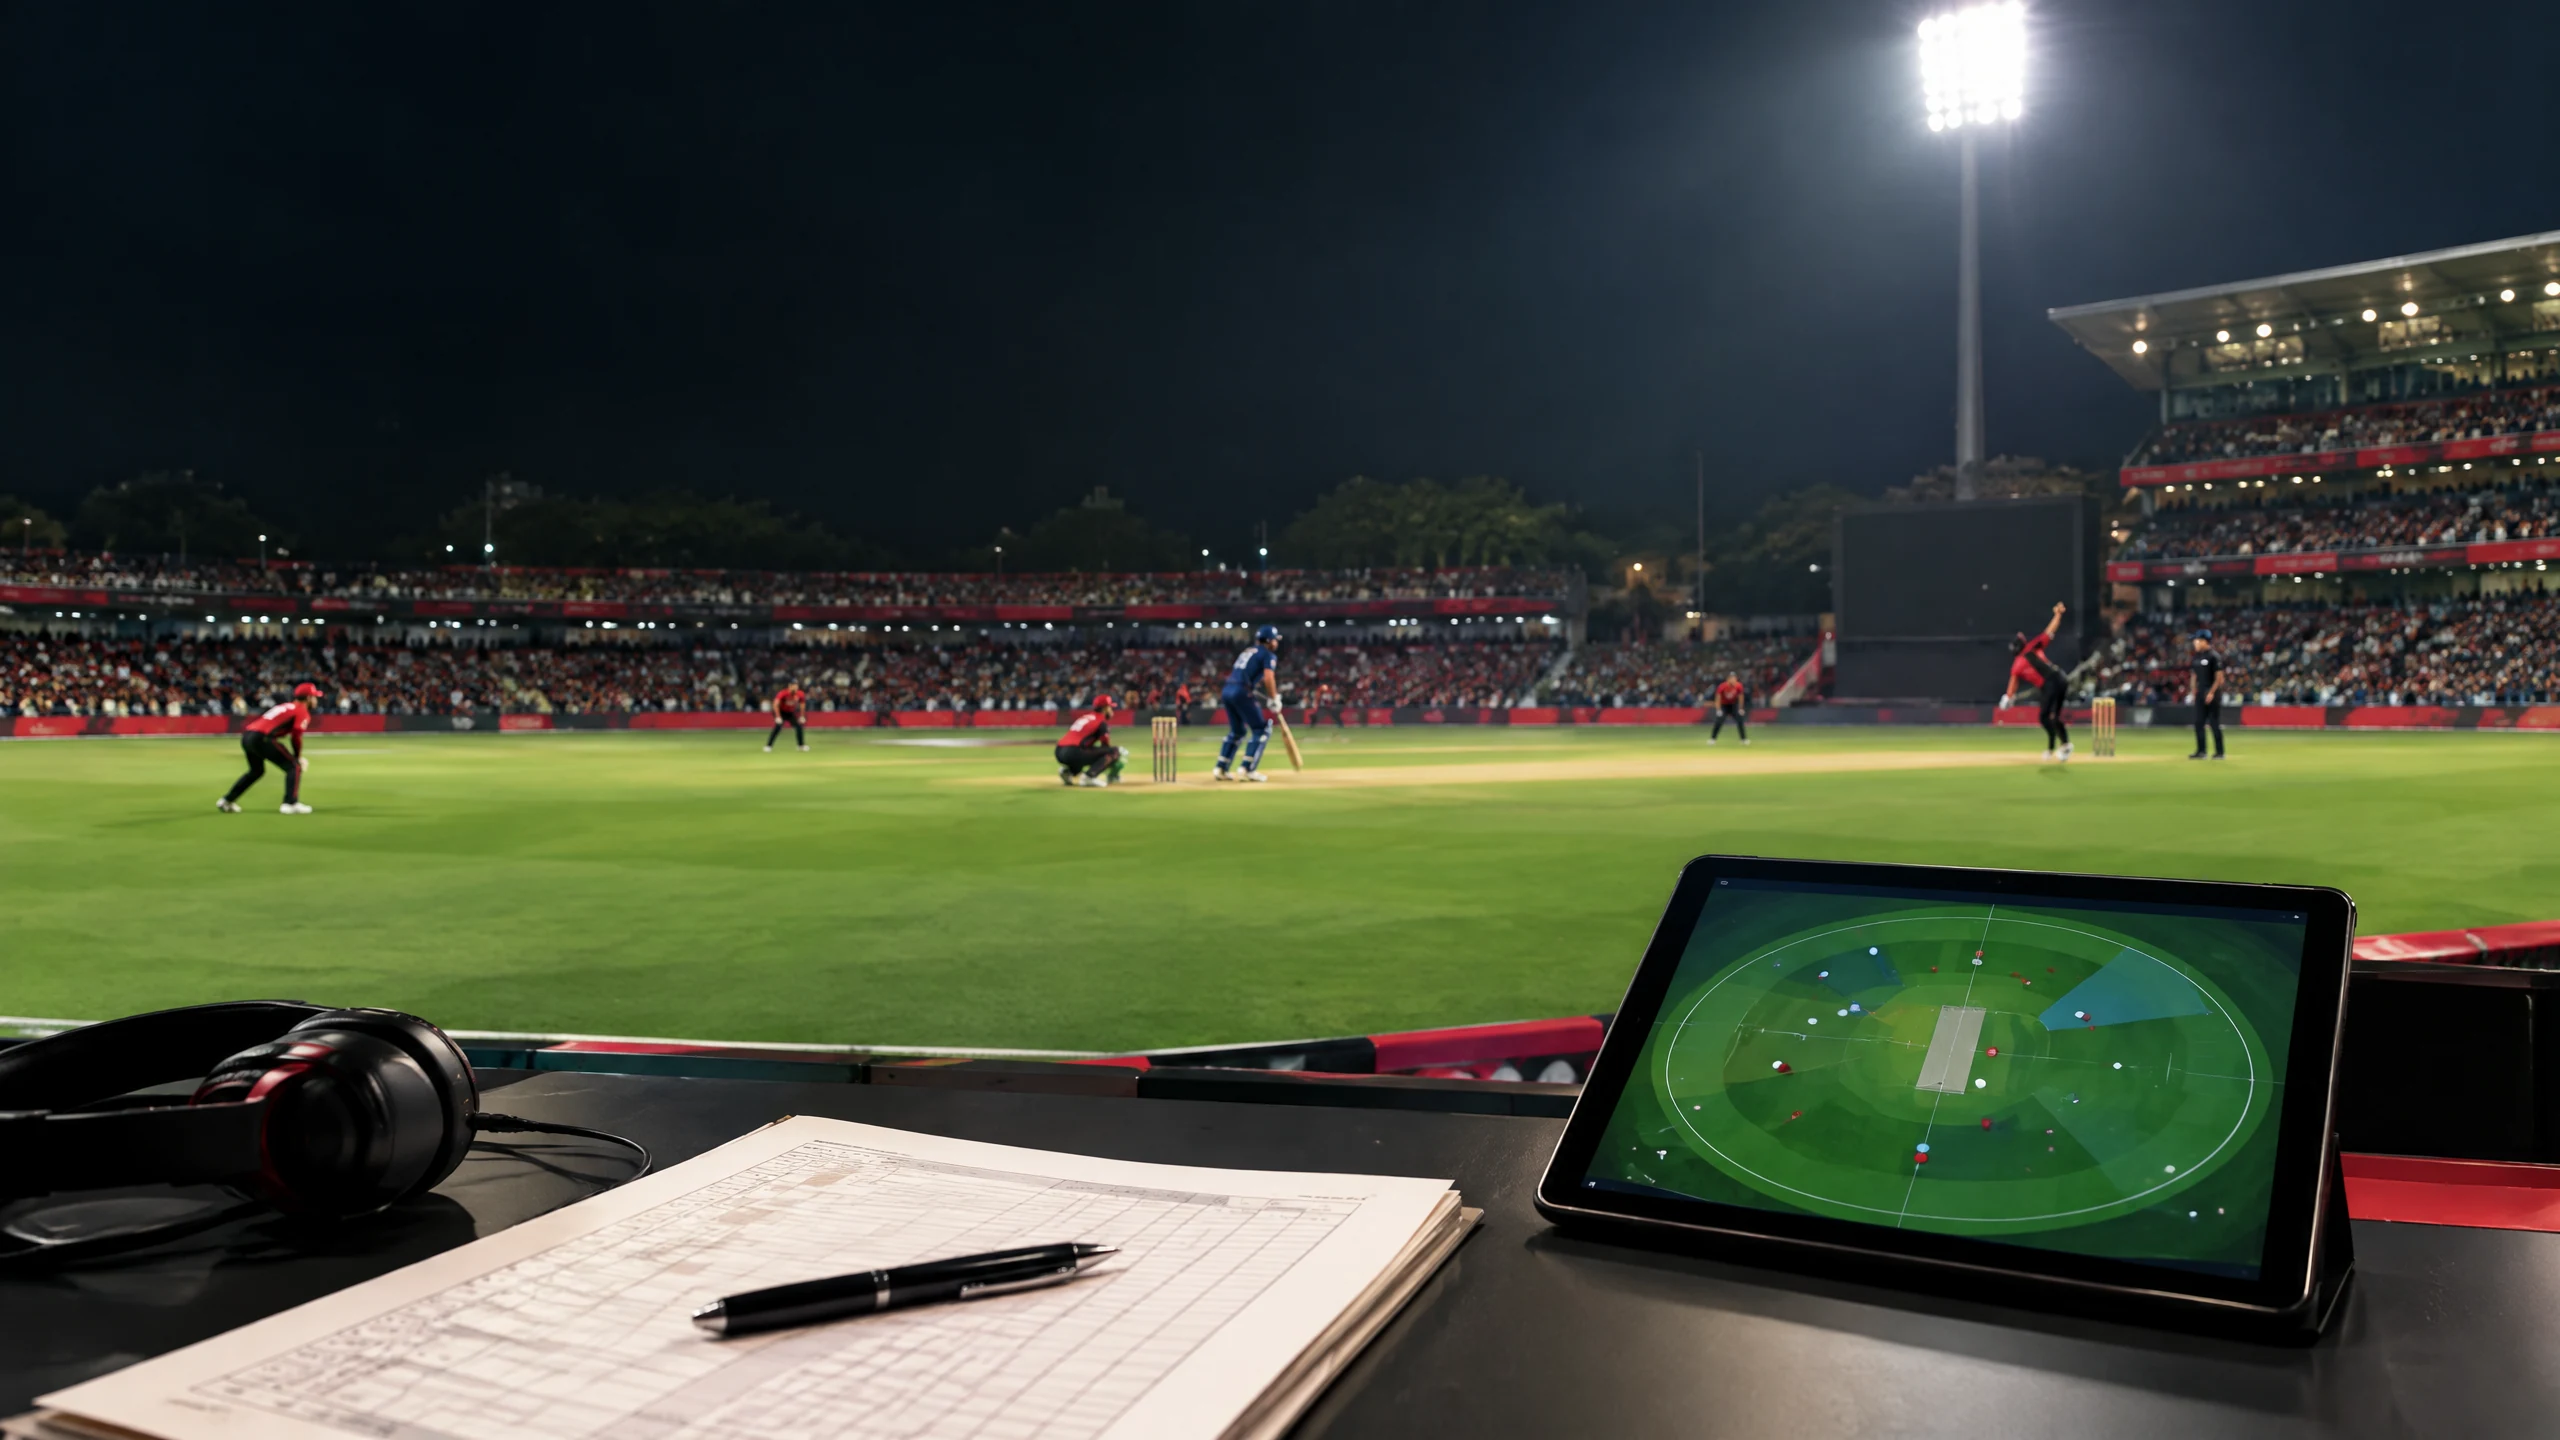
Cricket Match Analysis: Reading the Decisions That Change a Game
Cricket match analysis is most useful when it explains the choices behind a result, not merely the final score. This evergreen guide shows how to assess game state, phases, fields, bowling and batting plans, pressure, and replay evidence—from the opening spell to a decisive final over.
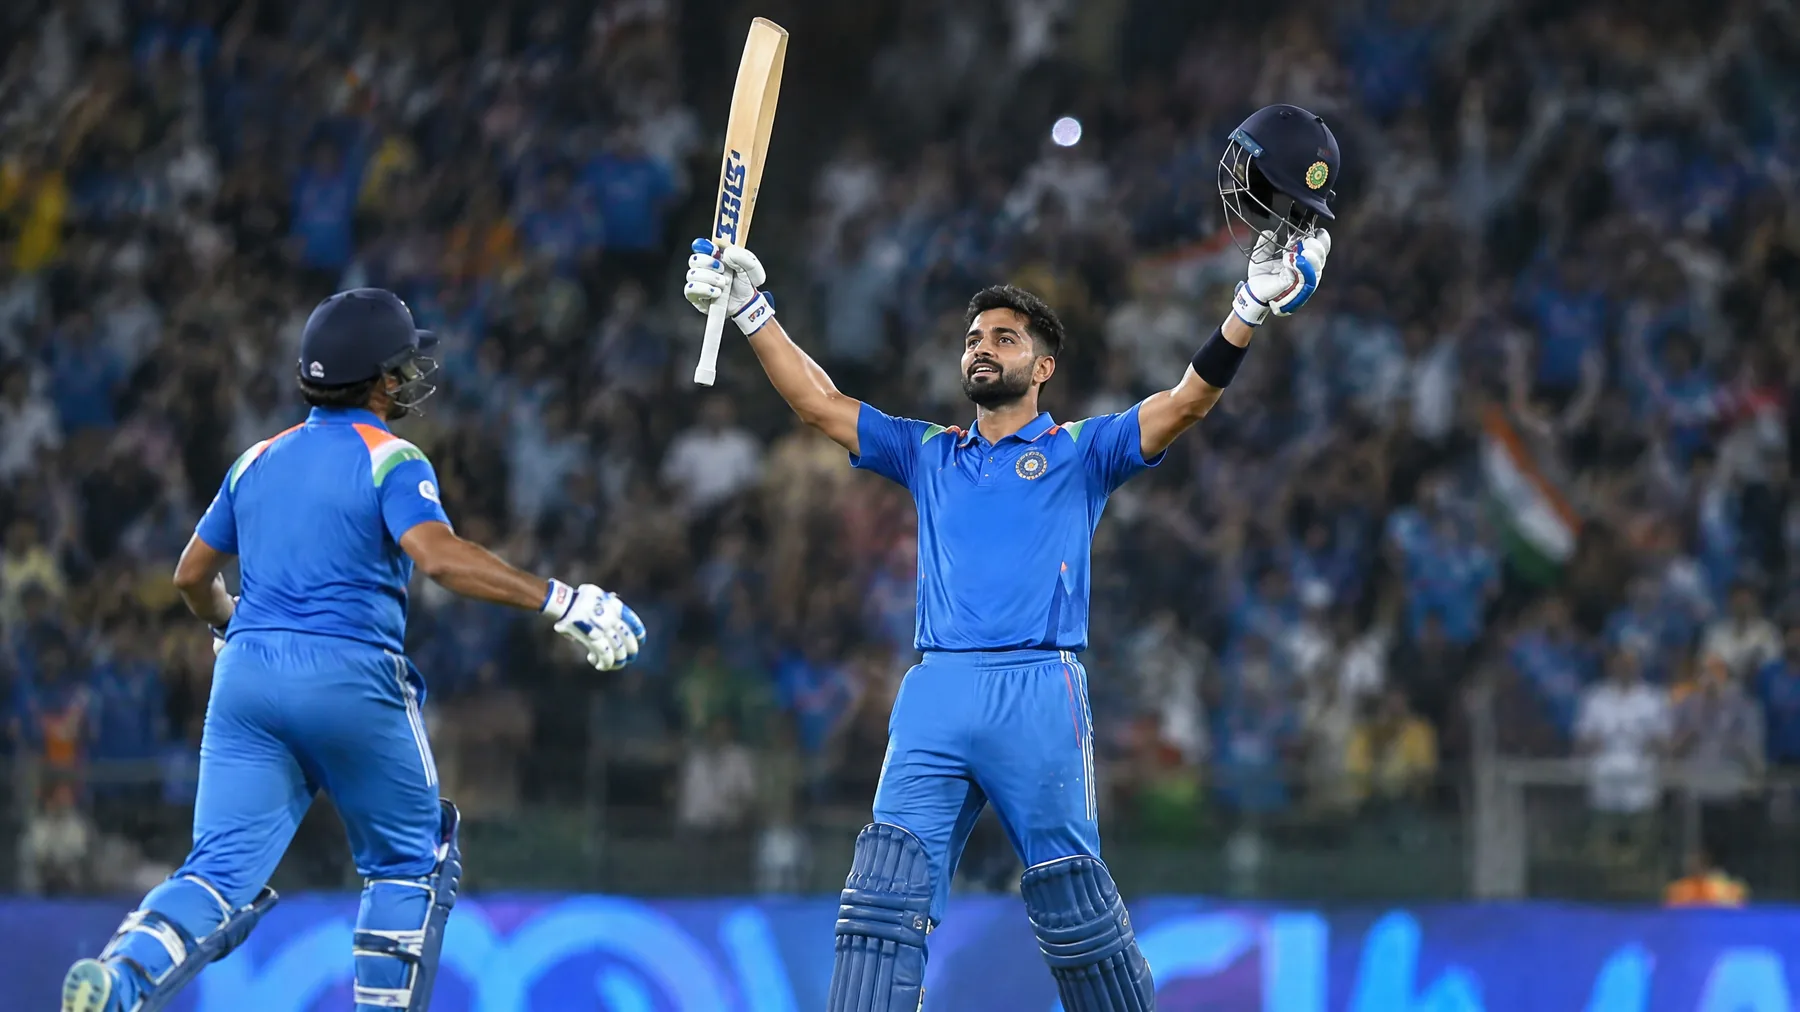
- Start with the game state: target, balls remaining, wickets, batters, conditions, and innings phase determine the value of every option.
- Read field settings and bowling plans together; a field only makes sense when it supports a realistic delivery plan and an acceptable miss.
- Assess batting choices through risk, strike, and partnership context rather than assuming every attacking shot or single was automatically right.
- Use a structured replay to separate a sound decision that failed in execution from a poor decision that happened to work.
Cricket match analysis starts with game state
Cricket match analysis should begin before the delivery under review. Establish the format, innings, target or defending total, runs required, balls remaining, wickets in hand, current batters, and conditions. Note whether the surface has changed, whether dew or wind affects control, and whether the ball is new, soft, wet, or reversing. A final over cannot be understood in isolation if earlier overs created a particular striker, bowler, or target.
The same run has a different value in a different state. A single early in an innings may simply rotate strike; a late single may either give the preferred hitter control or expose a weaker partner. A dot ball may help the fielding side, but not if it leaves a favourable matchup for the next delivery. Ask what each team was trying to improve: the required rate, the number of boundary options, the chance of preserving a wicket, or the likelihood of keeping a particular player involved.
Separate the decision from its outcome. A sensible wide-yorker plan can fail if the bowler misses; a low-percentage swing can be rewarded by an edge. The result matters, but it does not by itself prove that the original choice was right or wrong. The more useful test is whether the option suited the state and was repeatable in those conditions.
Phase-by-phase cricket match analysis
Every innings has changing priorities. In the opening phase, look at new-ball movement, the attacking field, available singles, and whether either side is trying to establish control rather than force an immediate result. In limited-overs cricket, fielding restrictions alter the equation; in longer formats, close catchers and the condition of the ball can matter more. The aim is to identify when risk, field shape, and bowling resources change.
The middle phase often decides how much freedom exists later. Batters may value low-risk rotation, favourable matchups, and partnerships that prevent a late run-rate spike. Captains may use spin, changes of pace, or a packed ring to make boundary hitting uncomfortable. A quiet spell can be useful or damaging depending on wickets, target, and resources still unused. Watch whether a side is creating chances with a clear plan or merely waiting for an error.
The death phase raises the cost of execution, but it should not erase what came before. A team that saved a reliable bowler, protected a strong finisher's strike, or retained an attacking option has built a late advantage. A final over can also expose earlier choices: a key over spent too soon, a weak matchup left for last, or a partnership allowed to settle. Review the finish ball by ball, then place it back in the sequence that produced it.
Field settings and bowling plans must agree
A field is a statement about the outcome a captain is prepared to allow. Boundary riders can protect likely hitting zones but often concede singles; an inner ring can challenge rotation while increasing the cost of clean contact. Analyse actual positions rather than calling a setup simply defensive or attacking. Is the straight boundary protected? Is a fielder placed for the ramp, outside edge, or square hit? Can the non-striker exploit an open area? Each answer should relate to the batter's options and the runs the fielding side can afford to concede.
Then test whether the bowling plan supports that shape. A yorker plan needs coverage for a low full toss. A slower-ball plan needs protection where a delayed swing is likely to travel, while a hard-length plan may need catching or saving positions square of the wicket. The best plan is not the most elaborate variation; it is a line, length, pace, and contingency the bowler can deliver under pressure. A clever field for a ball the bowler cannot reliably bowl creates uncertainty, not control.
After a boundary, look for an adjustment rather than immediate blame. The response may be one fielder moved, a different line, a change of pace, or no change because the ball was well bowled and well hit. Bowlers need to know the scoring area they are denying, and fielders need to know their primary stop or catch. Clear roles also make it easier to decide which miss is acceptable and which one is most dangerous.
Batting choices: strike, scoring zones, and risk
Batting analysis is more than deciding whether a shot was brave or reckless. First identify who should face the next ball and why. Strike management depends on the target, deliveries remaining, batters' strengths, running ability, and the bowler's matchup. Taking a single may be right because it puts the stronger hitter on strike; declining it may be right because the partner is less equipped for a difficult ball. The score alone cannot settle the argument.
Read a batter against the bowler's probable delivery, including an imperfect version of it. Moving early may help against a predictable yorker but make a slower or wider ball harder to manage. Standing deep can create room for a full delivery yet reduce time against a hard length. Better decisions usually mean committing to a scoring zone when the ball arrives there, while retaining the balance to accept a dot ball or simple run when it does not. The goal is to make the bowler miss a preferred area, not to manufacture a boundary every ball.
Partnership awareness is crucial late on. Batters should communicate about calls, open boundary areas, and the response to a missed length. A run can be physically available but tactically poor if it creates an unfavourable final-ball matchup. Refusing a run by habit can be equally wasteful. Review whether the pair shared a plan and whether each choice preserved enough options for the deliveries remaining.
Pressure changes execution, not the questions to ask
Pressure is real, but it is not a complete explanation. It can narrow a bowler's release point, make a captain slow to change a field, or rush a batter into committing before the ball is released. It also affects communication: fielders hesitate on a return, runners start late, and a team can dwell on the previous error instead of the next ball. These factors explain execution without removing the need to judge the options that were available.
Do not use momentum as a shortcut. A boundary changes the required equation and can alter confidence, but its analytical value lies in the information it reveals. Did the batter show a new movement? Did the bowler lose grip? Did a fielder's position invite a different shot? Did the surface make a previous length less safe? Update the assessment when evidence changes, but do not assume one dramatic delivery proves a long-standing plan must be abandoned.
A fair review records the alternatives genuinely available at that moment. Consider the bowler's demonstrated control, the captain's remaining resources, the batter's scoring areas, and the chance of an error. A sound plan can fail through poor execution; a poor plan can survive one ball. Repeated choices, rather than one fortunate or unfortunate result, provide stronger evidence.
Replay methodology, common mistakes, and a reader checklist
Use replay as a reconstruction tool. Before an important ball, record the score, target, balls, wickets, striker, non-striker, bowler, and visible field. Identify the likely delivery plan, the batting response it invited, and what each result would mean for the next ball. Watch again for release point, length, pace, batter movement, and fielding response. If the available angle does not show every fielder, acknowledge that limitation instead of inventing a precise setting.
Keep a simple record of intended decision and actual execution. For the fielding side, note the desired line, variation, protected boundary, and acceptable run. For the batting side, note the scoring zone, strike objective, and fallback if the ball is outside reach. This prevents replay from becoming a highlight-by-highlight verdict and shows whether a team followed a coherent sequence or simply reacted to the last delivery.
Common mistakes include starting with the final score, judging a field without the bowling plan, calling every dot ball good bowling, and treating every boundary as a tactical failure. Analysts also overlook the non-striker, overstate what television pictures prove, and apply a generic final-over template to players with different skills. Keep what was known before the ball separate from knowledge gained afterward.
For a practical checklist, ask: What was the state before the ball? Which phase and matchup mattered most? What run or shot did the field appear willing to concede? Could the bowler execute the proposed line and variation? Who needed strike next, and what did a wicket cost? Did the response reflect new information or panic? Finally, would the same decision still be defensible if the result of that one ball were reversed? Those questions turn a memorable finish into useful cricket match analysis.
Reader guide
Article questions, answered
Short answers to common reader questions based on the reporting above.
What is the first thing to check in cricket match analysis?
Start with game state: format, innings, target or total, runs and balls remaining, wickets, current batters, bowler, and conditions. This context determines whether a single, dot ball, boundary attempt, or defensive field was genuinely valuable.
How should a field setting be analysed?
Map where the fielders are and ask which shots or runs the placement is trying to prevent or permit. Then check whether the bowler's intended line and length make that field plausible. A setting cannot be assessed fairly in isolation.
Why is the final over not enough to explain a match?
The final over is often shaped by earlier decisions about bowling resources, wickets, matchups, strike rotation, and the target. It deserves close attention, but it is the end of a chain rather than a complete explanation.
How can replay distinguish a bad decision from bad execution?
Record the plan before judging the result: desired line, field coverage, scoring objective, and reasonable fallback. If the plan fit the state but the ball was poorly delivered or the shot mishit, execution may be the central issue. If the plan ignored a matchup or exposed the wrong area, the decision deserves scrutiny.
Can useful match analysis be done without full video?
Yes, if its limits are clear. Scorecards, ball-by-ball accounts, and available clips can show changing game state, but may not reveal field positions, batter movement, or communication. Avoid claims that require evidence you cannot see.
What is the most common analytical mistake in a close finish?
Outcome bias: treating the final boundary, wicket, or missed yorker as proof that the previous choice was obviously right or wrong. Strong analysis considers the options available before the ball and whether the decision was sensible and repeatable in the circumstances.